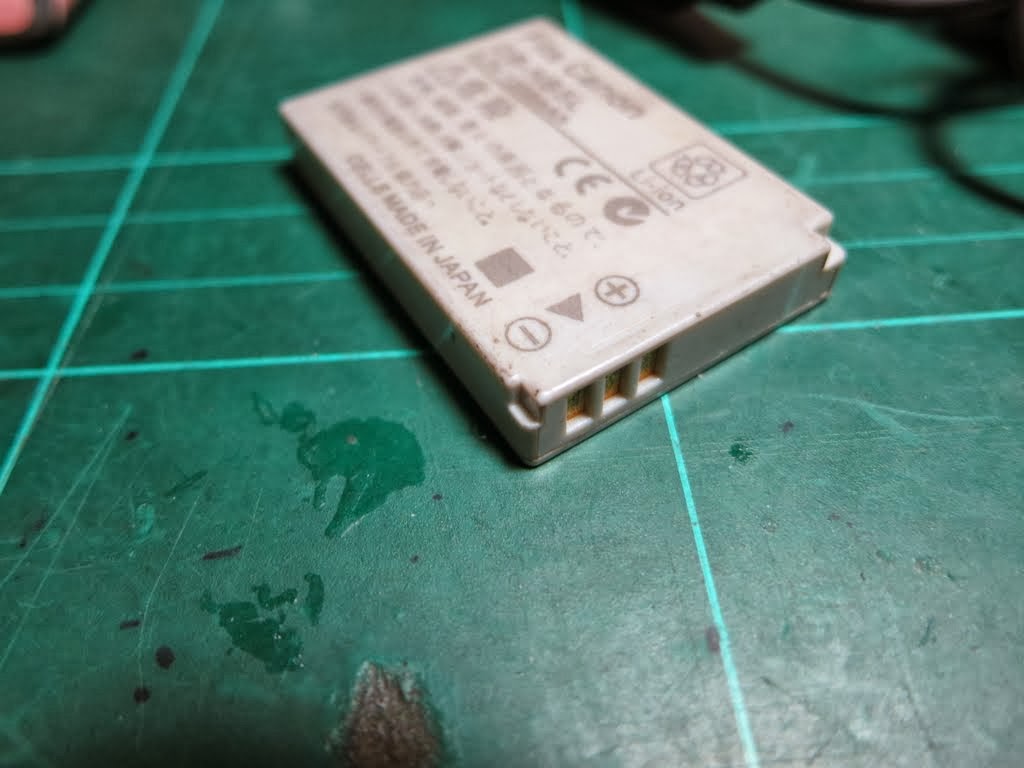
Initially started this experiment to revived old dead phone batteries which cannot be charged by conventional charger anymore, read it from somewhere so decided to give it a shot. Somehow it worked and the batteries were revived once more for use.
So I decided to go further experimenting on live batteries that requires recharge. To my amazed I was able to charge live batteries using 220V or portable 5V Power Pack supply.
One of the gadget I have used is a USB Charger Doctor to check on the charging status. Without this I will not be able to tell if the charging was active or the battery was fully charged unless I used a volt meter.
I have tried on several 3.7V Li-ion batteries and all of them were successful charged. To know the batteries were fully charged, USB Charger Doctor would indicate ZERO Amp. Most of the time within half hour the batteries were fully charged. That was amazingly fast!!
From these experiments, I found the Li-ion battery itself was able to cut off charging supply when it was fully charge. In my opinion, this is one of the fastest, simple way to charge Li-ion battery, ideal for spare batteries.
This method is rather useful for Camera Batteries especially those who venture into wild photography or backpacking when you can only carry 5V Portable Power Bank. This will eliminate carrying Camera Charging Pack which most of the camera uses 110~240V supply.
Now this makes me wonder why Camera Makers supplies these bulky charging pack when all we need is a 5V USB cable. Camera batteries uses the same 3.7V as all mobile devices.
Maker's Charger vs DIY Charger
Advantages
- lightweight setup
- 5V charging
- able to charge batteries if device charging port is damage (not applicable for device with built in battery)
- fast charging time
- revive old Li-ion batteries
Disadvantages
- Do it at your own risk
Material Needed
- Spare USB Cable
- USB Charger Doctor or Volt Meter
- Bike Inner Tube Band or Tape
- 5V Supply
Important to Note
RED is POSITIVE
BLACK is NEGATIVE
Stripped the end of a USB cable, remove all other cable except Red and Black. On both the red and black ends you can either roll into a ball or like I preferred to solder a ball which makes better contacts.
Charging either from a 110~240V power adapter and 5V Power Pack. Used the bike inner tube bands or tape to the correct contact points. Sit back and wait.
Previously this was our Li-ion portable alligator charger. It was easy to use and had no failures. Problem was that it charged at the max rate of 250mAh which took the whole night.
This experiment was merely to jump start a dead battery. I was glad to have used the USB Charger Doctor only then realised that this method could fully charged the battery. To verified the battery state, volt meter was used to confirm the battery readiness.
Finally my "5V Project" is coming to a closure, the camera battery was the last obstacle. Will try to improve the design and include in future backpacking kit instead of carrying bulky chargers.
Do share your feed back if you encounter any problem. As you are aware this is only at experimental stage. Do it at your own risk.


